


")


3 months of ALP and this was my final project.
It was a wall light mounted on an air purifier. Following is my design thinking. Our professor introduced a cloth to us that had finished its kickstarter in China, it was a catalyst that could combine air pollutants like benzene and other chemicals into harmless carbon dioxide and water. All that was needed was the presence of UV light. So, we had to design a frame that would hold the cloth, as well as a way to make it more functional rather than just window drapes for example. Thus, we decided to make it an aesthetic wall lamp. Some problems we had was how to control the light ->Arduino How to fit everything into the model? I used our CAD to make square rectangles of the internals such as the power bank, Arduino, lights, fan etc, and ensured everything fit. I would have preferred to upload the entire 45s video detailing its creation, however I am constrained to just 8mb per video which is about roughly 8s. So let me try to explain what I was doing.
First was the CAD. Computer Aided Design. We were tasked to fabricate an interesting design for our air purifier to make it stand out from what was already on the market. So we went with this triangular pyramidal wall clock design. Let me tell you, learning how to make concentric triangles stack on rhino was a terribly steep learning curve. I took an hour to make the first layer, half an hour to make the next one, and roughly 10 minutes to finish the rest of them. Next, we sent the CAD to a factory to make it. I was pretty impressed with the professionalism of the people who were making the model. It was make out of hard plastic, they spray painted it and glued the pieces together for us.
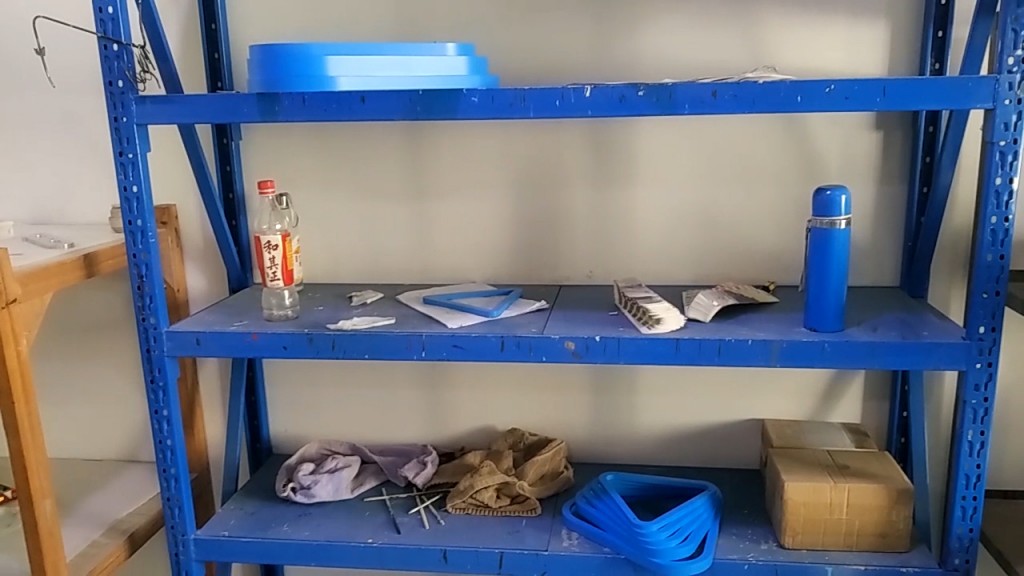 Then after that it was up to us to finish up the internals.
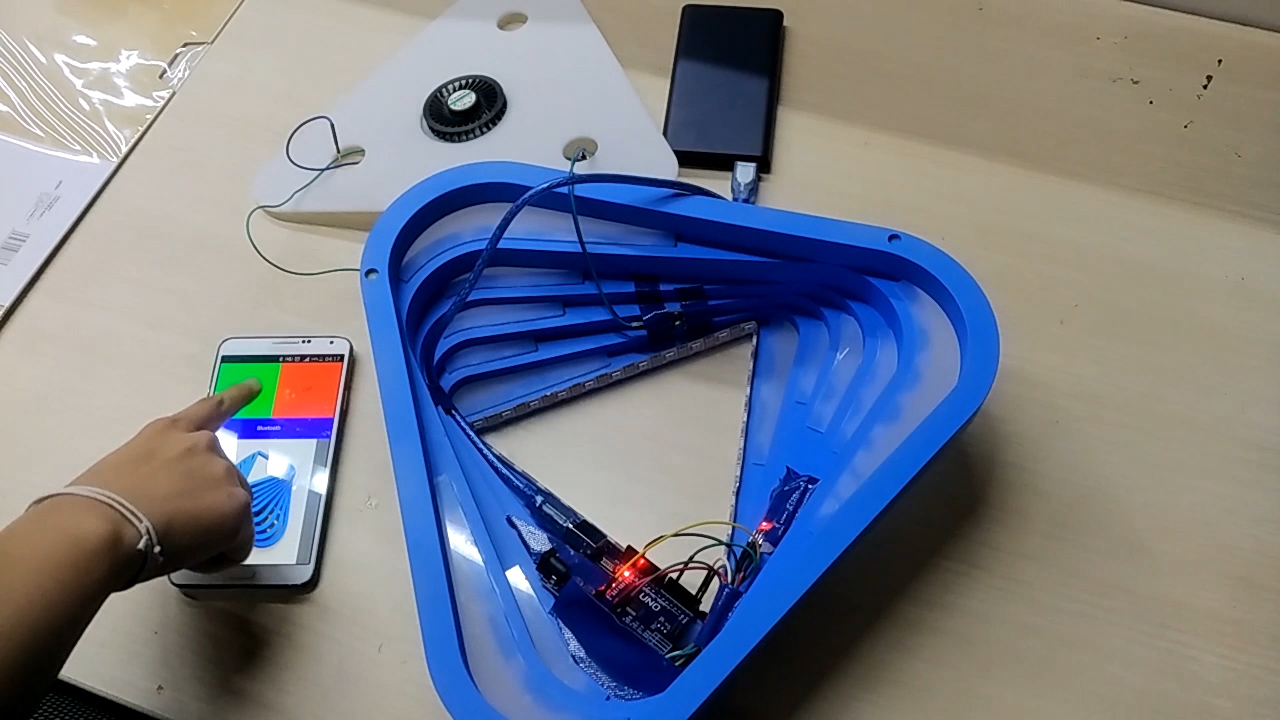 How to control the UV light? Now that was an interesting design So here is the internal of the pyramid. As you can see, it was powered by a powerbank, and it had an Arduino with a bluetooth module connected to the LED strips which lined the top of the pyramid.
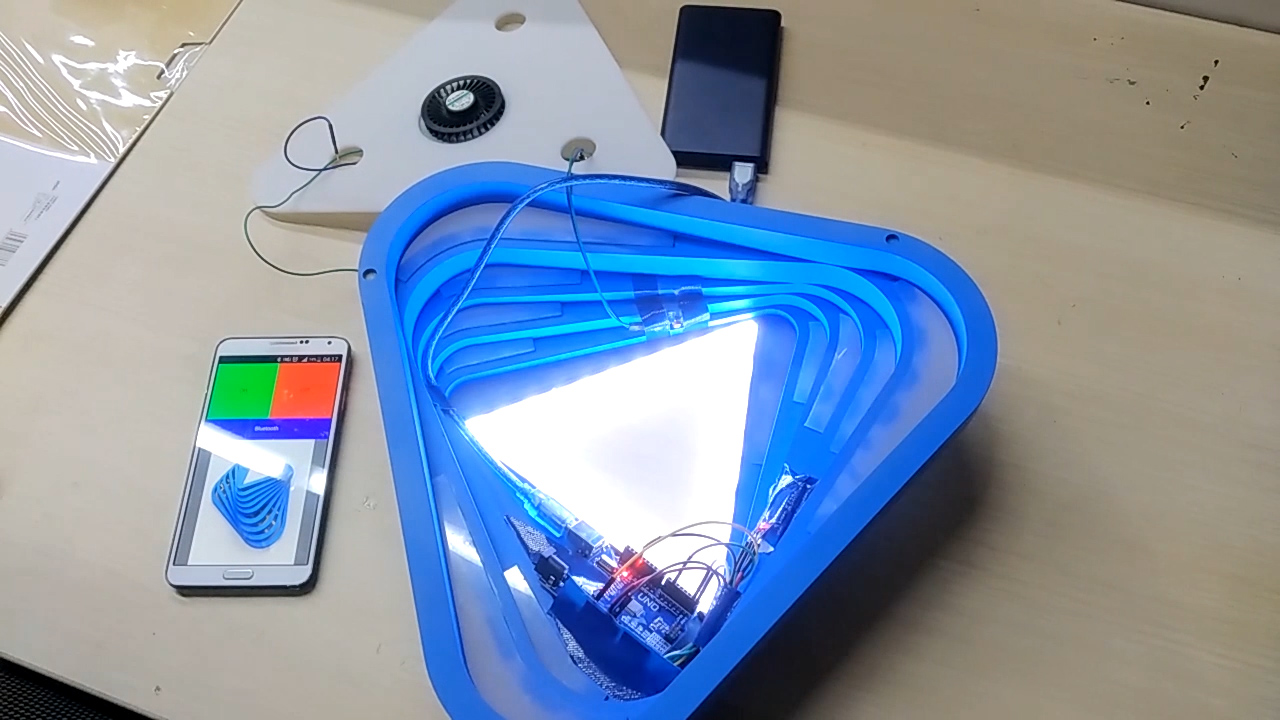 Splitting the work up, Gio, my group mate made the Arduino code while I made the Bluetooth App. How we linked it was that if the green on button was pressed on the app, it would send a letter ‘o’ to the Arduino which would register ‘o’ and route the program to turn on the light, and if the red off button was pressed, ‘n’ would be sent which would turn off the light. The next problem was ventilation and how to control the temperature within the pyramid. If you can’t really tell, most of the openings were closed with translucent acrylic which hid the Arduino making it more aesthetically pleasing but cut of ventilation. To fix that we jacked a small laptop fan and mounted it on a layer of acrylic that kept the light components and the air purifying components separate. We soldered on 2 wired onto the fan praying that it would work without and input. And it did.
The last problem we had was how to control the UV light. It was an entirely separate component from the light that we controlled with the Arduino and frankly we had no idea of how to bridge a connection across the on off switch that came with the UV light. Our Teaching assistants weren’t much help either as they gave us a MOSFET, which only in these recent weeks, 2 months after ALP that I learned how to actually use it. With luck, I found a photodiode. The resistance of a photodiode is inversely proportional to the light incident on its surface. So, I rigged it to the UV light switch and placed the diode near the light source. In essence, when the light is on, the UV light will turn on. And when the light pulses, the UV light will turn off. Innovative eh? Hehehehe Only those who read this blog will truly know how much innovation went into this simple product. But I’m really proud of what I did.
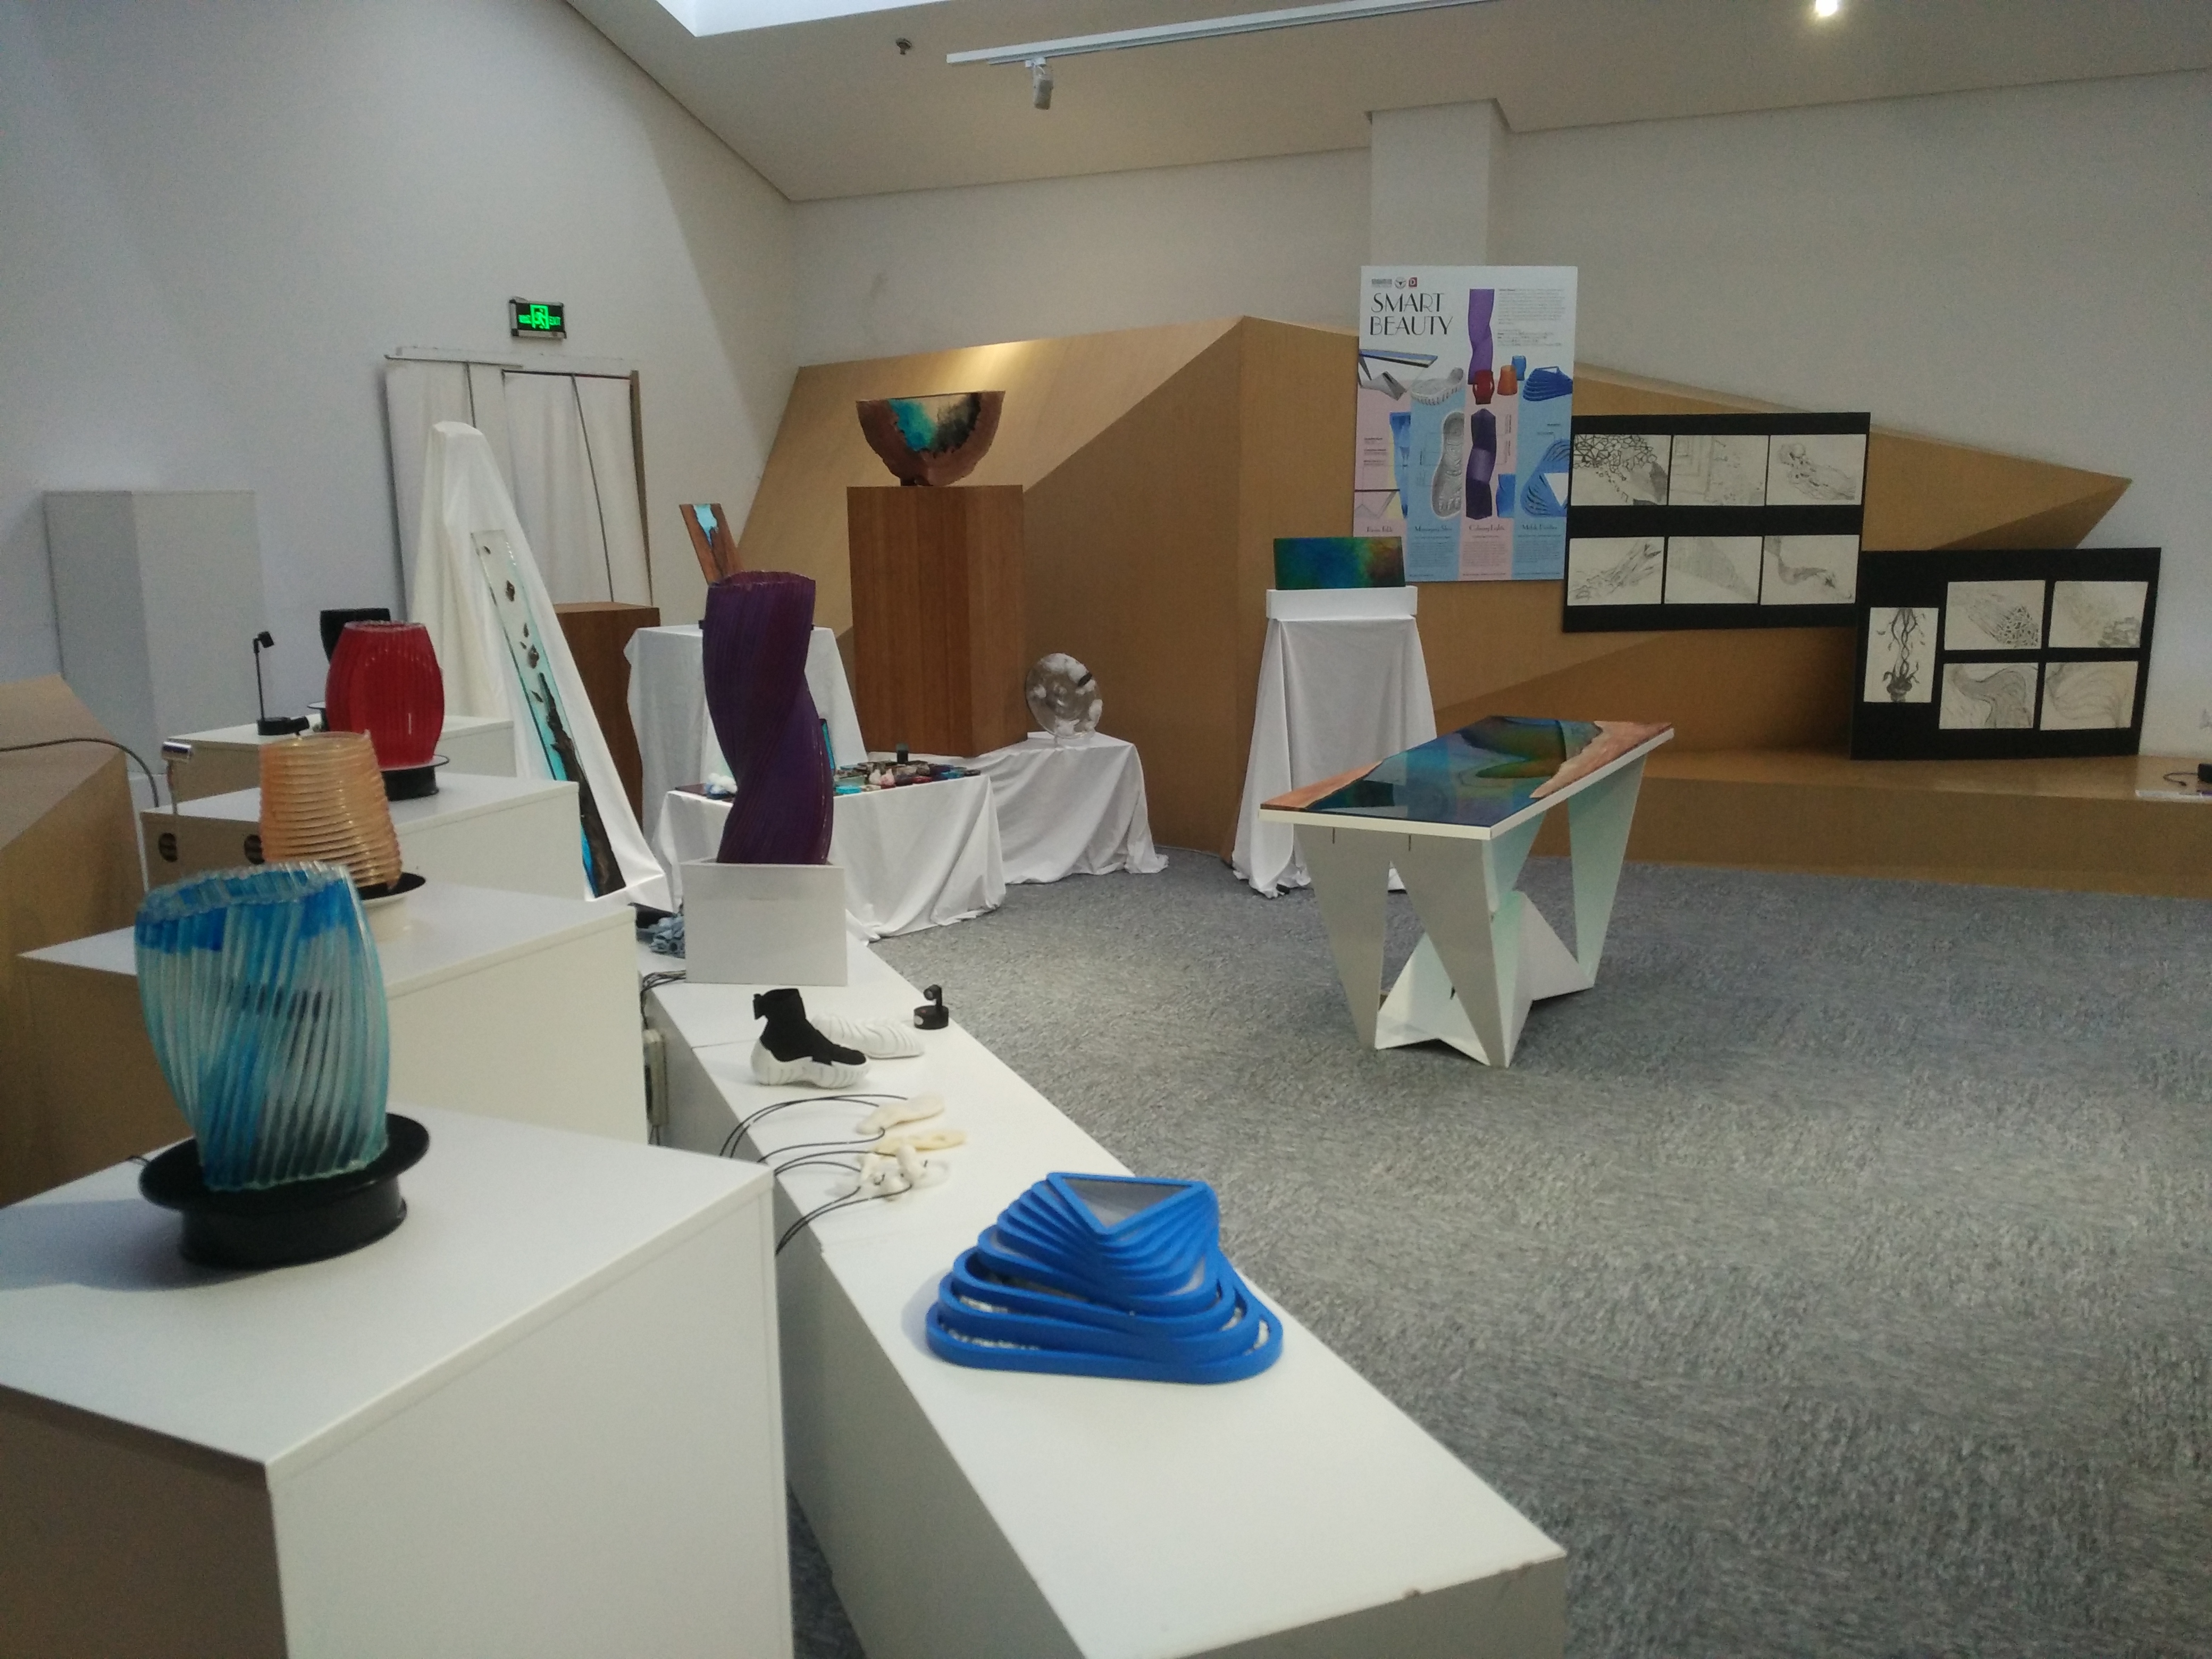
And here was the completed product.
So then we got to display it and present it.
 I learnt a lot over these few months, how to CAD, create and innovate. And these lessons will serve me well in the future.


